Hi everyone, just a quick note that we have another new associated blog. It is Reel Fives which provides movie ranking and movie news. Please check it out if you have a chance:
www.reelfives.com
Monday, October 26, 2015
Wednesday, October 21, 2015
Recipe for Aji de Gallina (Peruvian yellow pepper chicken stew)
Although Peruvian cuisine is largely known for seafood this dish is an underrated star of our cuisine. Aji de gallina, literally translated as 'pepper of hen' is an awesome and unique Peruvian dish. I am unaware of anything like it. For this reason, I have researched the history of this dish but only found very little that is consistent aside from the fact that it is of Peruvian origin. One of the most interesting origin stories I encountered was that during French revolution many chefs that cooked for the French royalty fled France for the Americas, often to wealthy colonial families. One such chef, while working for a family in Lima, concocted this delicious dish. Growing up when I was a little kid in Peru this was my absolute favorite dish and I am excited to share how to make aji de gallina (pronounced ahee de gayina). I hope our friend Brian, who was very anxious for this recipe, will appreciate it!
I should mention that while this dish requires several steps it is straight forward to have these going on parallel (such as the boiling, chopping, shredding at the same time). Accordingly, the sequence of steps presented here allows for an efficient use of time. I suggest reading through them before starting to get a sense of how the multi-tasking will take place. Enjoy.

4
cups of chicken broth
2
lbs of chicken (2 full chicken breasts)
2.5
medium red onions, roughly chopped
¼
cup vegetable oil + 1 tbs oil
4
cloves of garlic, minced
3
tbs aji amarrillo (yellow pepper) paste
1 2/3
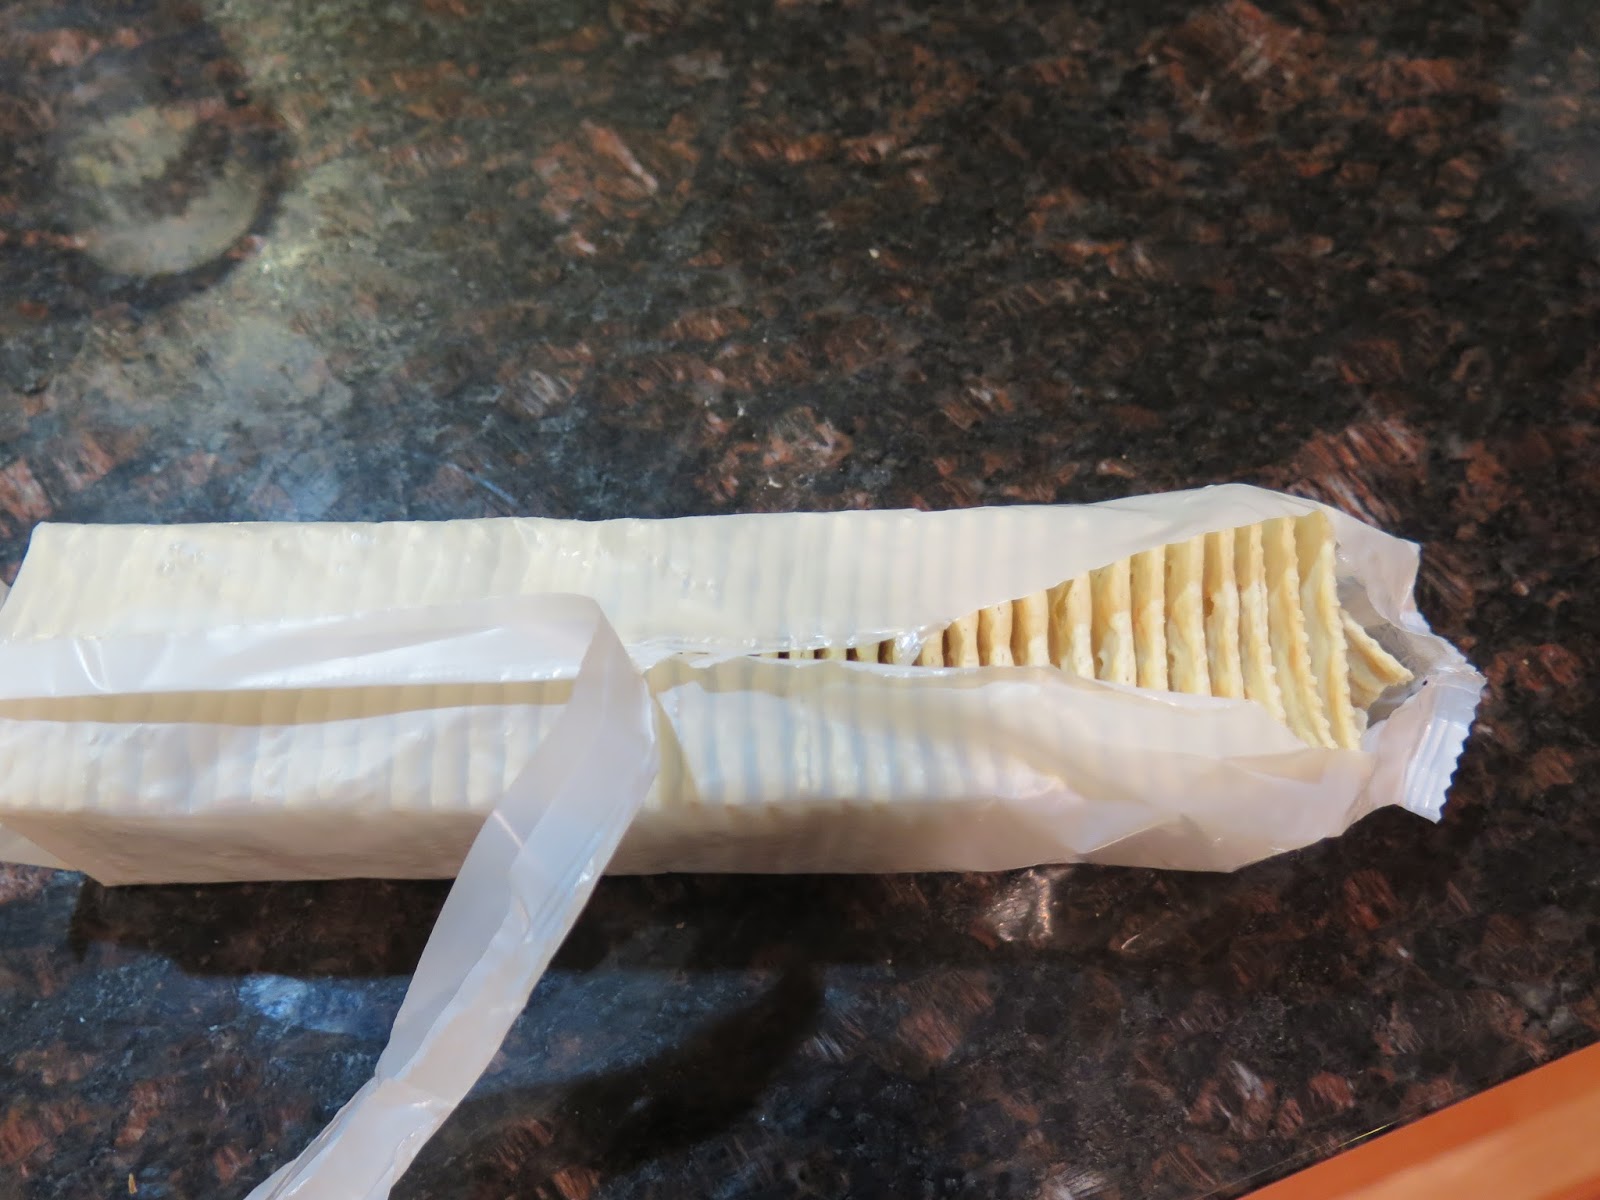
cups crumbs (crushed saltines* or plain bread crumbs)
4
cups whole milk (or evaporated milk)
1 ½ cups
grated parmesan cheese
¼ teaspoon
ground black pepper
¼
cup ground walnuts (optional)
2 large russet potatoes
2 eggs
2 cups of rice
Salt to taste
Serves: 6-8
* one sleeve of saltines makes about this amount, see below.
Step 1: You start with fresh chicken breasts. Bring
four cups of chicken broth to boil in a large pot; add in chicken and boil
until fully cooked (approximately 20 minutes).

Step 2: While
the chicken is boiling, rough chop the onion and mince the garlic. To mince garlic, you can either do it
by hand or use a handy garlic press . If mincing by hand, peel the clove, then
press down firmly on each clove with the side of your knife to flatten the
clove. Then, finely chop the cloves.


Step 3: By this time the chicken should be almost done or finished boiling. Once cooked, remove chicken from
broth and place it in either clean cutting board or plate so that it gets cool enough to handle. Meanwhile, after having removed the chicken, drain the pot, setting aside the broth in
which the chicken was boiled to use for later.


Step 5: By
this time, the chicken should be cool enough to handle, so you can begin
shredding the chicken. Personally, I shred the chicken by hand into medium
sized pieces. Another way to do this is with two forks, but I find that using
my hands is quicker. A
trick I sometimes use to make shredding the chicken easier is, instead of boiling the chicken,
to use a pressure cooker to cook the chicken to the point where it starts to
fall apart. With the chicken cooked to that extent, you hardly have to shred it
on your own. Be careful not to overcook in the pressure cooker though!


Step 6: About
a third of the way through the shredding, you should check in on the onion and
garlic and stir. Also at this point, pour in 3 tbs of aji amarillo (Peruvian yellow pepper) paste. Keep
in mind this pepper is very hot, but part of the flavor profile of this
dish is that it is supposed to be spicy. The aji amarillo (yellow pepper) is also what gives
this dish its vibrant yellow color. The reason you add in the yellow pepper
at this point is to let it cook and release the essential oils so that the
flavors can meld together. As you continue to shred the chicken, make sure you
periodically check in on the onion, garlic, and aji amarrillo saute.

Step 7: Once
the chicken is shredded, gradually add it to the pot with the onion, garlic,
yellow pepper mixture. After the chicken is added, there should be
significantly more chicken than onions. Also add in four cups of the broth that
you had set aside after boiling the chicken and stir together all ingredients. Increase heat to medium high to bring mixture to a boil.

Step 8: While
pot is coming to a boil, crush the saltines (about a full sleeve of crackers),
if you are using them for your crumbs. This dish requires bread or similar types of crumbs-
you can use unflavored bread crumbs or saltines. If you are using saltines,
simply crush the crackers in your hand into a bowl.

Step 9: After
crushing the saltines, the chicken mixture should be boiling or almost boiling.
Wait until it’s at a rolling boil, and then begin to add in 1 2/3 cups cracker
crumbs

Step 10: Immediately after you throw the crumbs in, add in 4 cups of whole milk little by little and stir thoroughly. (You could also use evaporated milk or a combination of evaporated and whole milk. From experience, I do not recommend using reduced fat or skim milk, as it will not result in a creamy final dish).

Step 11: Let the
mixture heat to a low boil. Once at a low boil, add 1 ½ cup of grated parmesan
cheese and stir thoroughly. Use this instead of hard, shredded parmesan cheese,
as it will blend better. Also at this point add ¼ tsp ground black pepper and (optionally) add ¼ cup crushed walnuts or almonds. Stir thoroughly. Reduce
heat to low and cook for about 20 minutes (or longer, if you wish), stirring
periodically so that the mixture does not stick to the bottom of the pan. The
idea here is that the mixture needs to cook together so that all of the different
ingredients blend together for a unified dish. You’ll know it’s done when the
parmesan, onions, crumbs, and milk have become one thick, creamy sauce.
Step
12a: While the creamy mixture of chicken is simmering, peel the potatoes (with vegetable peeler works best) and place
peeled potatoes and eggs in water in a medium saucepan. Add room temperature water and boil for 10-15
minutes until the potatoes are tender. NOTE: it is critical that you do not overcook the russet potatoes since they will fall apart. As soon as the potatoes begin to feel tender almost to the center turn off the burner since they will continue to cook once removed from the heat. To test for the tenderness I usually poke them with wooden skewer. When in a bind I will use a fork. After the burner turned off carefully drain the hot water and fill the sauce pan with cool water from the sink to allow the eggs and potatoes to cool. Once cooled enough to handle, cut the potatoes into about 1/4 inch rings and peel eggs and cut into quarters.
Step 12b: Once the potatoes and eggs are left to boil begin making two cups of rice. To cook the rice see our 'how to cook rice' blog entry here.
Step 13: By the time the you are done with preparing the potatoes and eggs and the rice is done cooking the chicken mixture should be ready. What you are looking for is a mostly smooth texture.

Depending
on the broth that you use, you may want to add some extra salt at this point(to taste). Now you are ready to assemble the dish! First begin by placing a bout 1/2 a cup of rice on a plate along with 2-4 rings of potato (depending on size of rings).

Next, place about one or two ladle-fulls of the chicken pepper mixture over potatoes. Finally, place quarter egg on one side. This dish is typically garnished with a black olive on the side. Happy eating!

Wednesday, August 31, 2011
New Associated Blog
Hello all. As some readers may know I am deeply interested in things related to Peru. I have started a blog on all things Peru - I suggest you check it out if you have a chance. The address is
http://peruphile.blogspot.com/
http://peruphile.blogspot.com/
Sunday, May 9, 2010
Jostage Kitchen's Orzo Recipe

What is Orzo?
 Until recently, I didn't even know what it was. It is a rice-shaped pasta, similar to risotto. The way I'll be making this dish is through having the orzo soak up the "broth" that it cooks in, giving it a thick texture and rich flavor. This is a recipe that, to my knowledge, I have invented, with inspiration from Mediterranean cooking. It has been a favorite of mine, and several guests have enjoyed it as well. I hope you will too!
Ingredients
1 1/2 cups orzo
3 cups water
1 tsp salt
1/2 tbsp unsalted sweet cream butter
1 1/2 tbsp tomato paste
Dash of cinnamon
1/2 tbsp lime juice
Step 1: In a medium sized sauce pan, pour in 1 1/2 cups orzo, 2 1/4 cups water, and 1 tsp salt. Turn burner onto high. Stir orzo around as it begins to heat up. As pot heats up, add in the butter. This will give the dish its creaminess. Continue to stir pot's contents with a wooden spoon.

Another cooking tool that I use a lot is a wooden spoon. This dish requires a lot of stirring, and as such it's good to have a wooden spoon handy. Metal spoons, while they have their place, are not good for this kind of dish, as they may scratch your pot, which over time and repeated scratching causes food to stick to the pan/pot, and often burn.
Step 2: When the water starts to boil, turn the heat to medium. At this same time, add in 1 tbsp of tomato paste. Continue to stir-if not, the orzo may begin to stick to the bottom of the pot (even if you've been using a wooden spoon all along!). If the orzo sticks repeatedly, I lower the heat even further, while continuing to stir. It's also important to stir continuously at this stage to break the tomato paste up.

Step 3: Once the tomato paste has broken up, turn heat to low and add in the remaining 1/2 tbsp of tomato paste. At this point, I also often add in another 1/4 of water if the orzo is getting too thick. It's a fine balance-you don't want too add too much water at the beginning, so the orzo doesn't get too watery. I usually start out with the 2 1/4 cups of water (as discussed in step one) and then gradually add more water (up to an additional 3/4 cup) to get the orzo to my desired thickness. I also add in a dash of cinnamon once the second addition of tomato paste has broken up. The cinnamon really gives this dish a very special and distinct flavor.

Step 4: After about 10-12 minutes, take a taste and determine whether the orzo is cooked to your liking. I like orzo, and all of my pasta, al dente, so I'm careful not to over cook. I like my food to have a bit of acidity, so at this stage, I also add in 1/2 tbsp of lime juice-you can either use bottled lime juice or juice from 1/2 lime. Continue to cook on low heat until orzo is at your desired consistency.

Your Orzo is now ready to eat! Enjoy !

Total time: 15-20 minutes
Serves: 6
Recipe for Cajun Blackened Chicken Easy Recipe

Blackened Chicken with Orzo (see our orzo recipe)

We fell in love with this type of chicken when we went to New Orleans at K-Paul's Kitchen. I actually had blackened drum (a bayou fish) , but the techniques and flavor profiles transfer very well to chicken.This is a very simple recipe and quick to make. This recipe feed 4-5 people.
Recipe Ingredients
1 1/4 lbs of chicken tenderloins
4 tsp paprika
1/4 tsp salt
1/4 tsp cayenne pepper (1/4 to make it hot)
1 tsp ground cumin
1 tsp dried thyme
1/2 tsp black pepper
1/2 tsp onion powder
Preparation
Step 1: Combine paprika, salt, cayenne pepper, cumin, thyme, pepper and onion into small bowl. Before adding the thyme, crush it a bit with your fingers. This helps to break up some of the leaves and releases the flavor. Mix all ingredients with a fork. Pour blackening mix into container into which you can coat chicken.


Step 2: Place chicken into container with blackening mix. We're using previously frozen chicken that we defrosted under cold water. You can also defrost in the microwave to speed up the process, or of course, non-frozen chicken. If you do use previously frozen chicken, make sure that it has been thoroughly defrosted, otherwise the blackening seasoning will not stick well to the chicken.


Step 4: Coat the frying pan with vegetable oil-just enough to coat the bottom of the pan, any more and it will take the blackening mix off of your chicken. Tilt the pan to make sure the little amount of oil that you use covers the whole bottom. We use vegetable oil, rather than olive oil, because vegetable oil has a very mild flavor that won't distract your taste buds from the key element of this dish: the blackening seasoning.
Step 5: Once the oil has heated up, drop the chicken tenderloins into the pan. At first, leave the pan on high so that the chicken "blackens"... the paprika caramelizes and literally "blackens" during this process. Let one side of the chicken cook on high for two minutes, and then flip. Let the other side cook on high for two minutes. Flip again and turn the heat to medium. After approximately four more minutes, the chicken should be done. You can tell whether the chicken is done by its firmness. Poke at it, and the softer it is, the more raw it is inside. Of course, you don't want it to be "too" firm, because then it is probably overcooked and dry. Figuring out the right "firmness" takes time. In you're still learning, you can always cut into a piece of the chicken-if it is white all the way through, then it is safe to eat.


Your cajun blackened chicken is now ready to eat! Enjoy!

Note: we are using chicken tenderloins for this dish. If you choose to use a different cut, cooking times may vary.
Sunday, April 25, 2010
Recipe for Peruvian Adobo Chicken (with Marinade Recipe)

The recipe presented here is influenced by Peru’s “adobo” chicken and feeds 6. This chicken is delicious and works really well for barbecues but here I am cooking it on the frying pan. Below is a serving suggestion with white rice (see our rice recipe) and greens with simple dressing (see our dressing recipe)

Recipe Ingredients
2. 5 pounds of chicken breast tenders (although any cut of chicken will do)
1 onion (red)
1/3 cup distilled white vinegar
1 1/2 cup water
1 tbs salt
5 tbs Aji Panca pepper paste**
4 tbs vegetable oil
1 tbs ground cumin
1 ½ tbs minced garlic
½ tsp ground black pepper
**(can be substituted with 2 tbs of tomato paste and 1 tsp of cayenne pepper powder)
Preparation
Any marinade includes these four basic elements: salt, an acid (such as vinegar or lemon juice), an oil, and hot pepper paste. The salt forces the chicken to absorb the flavors of the three other elements; the sour element softens the meat; the oil gives the meat richness and ensures that it does not dry out when it is cooked; and the pepper adds spiciness and gives the marinate ‘body’.

Step 2: Cut onion into eighths and place into bowl with chicken. It helps to have large chunks of onion not only to flavor the marinade, but to cook with the chicken later on.


Step 3: Add vinegar, water, salt , pepper paste, and vegetable oil to bowl.

Step 4: Add ground cumin, minced garlic, and black pepper to bowl.

Step 5: Mix together all ingredients in the bowl with tongs. Break onions up a bit and ensure that all the chicken and onions are semi-submerged (If you are using the tomato paste substitute for the pepper paste stir extra to make sure the tomato paste dissolves entirely!).

Step 6: Let chicken marinade for 10-15 minutes.
Step 7: After letting the chicken soak in marinade we are ready to cook. Coat frying pan with approx. ¾ tbs of oil. You dont want a lot of extra oil floating around-just enough to coat the bottom. Then let the pan heat up, on high heat.
Step 8: Once the oil becomes watery (about 2-3 minutes on a gas stove), you are ready to begin cooking the chicken. Don’t overheat the pan, as when you throw the chicken in, the hot oil may splash and burn you. To test whether the pan is hot enough, carefully place a piece of onion or a small piece of chicken into the pan, using tongs. If the chicken or onion is crackling in the oil, the pot is hot enough-go ahead and place a few pieces of chicken into the pan-as you move the chicken from the marinade, shake the chicken a bit to remove excess marinade. Be careful not to overcrowd the pan.

Step 9: Flip chicken over every 1-2 minutes. As you cook the chicken, there will be some marinade in the pan, let the chicken cook on high in that marinade. The marinade will reduce (become thicker) as the chicken cooks. As the marinade reduces, it will begin to splatter-once that happens, turn the heat from high to medium.

Step 10: After 5-7 minutes, when the chicken is nearly done and the marinade has reduced substantially, return heat to high and cook for 45 seconds on each side-this will help caramelize the outside of the chicken and onion for extra flavor. During this process, the chicken and onions will become slightly browned. With the heat on high, you will also want to make sure that nothing is sticking to the bottom of the pan-a constant problem when the heat is on high and the sauce has reduced. In total, the chicken will take about 10 minutes to cook.

Below you can see the browning on the chicken.

Step 11: Repeat for pan-frying for all of the marinated chicken. For the amount of chicken we used (about 2 ½ pounds of chicken breast tenders), we had to do a few rounds of cooking. In my large frying pan, it took me 3 rounds.

ENJOY!


Subscribe to:
Posts (Atom)